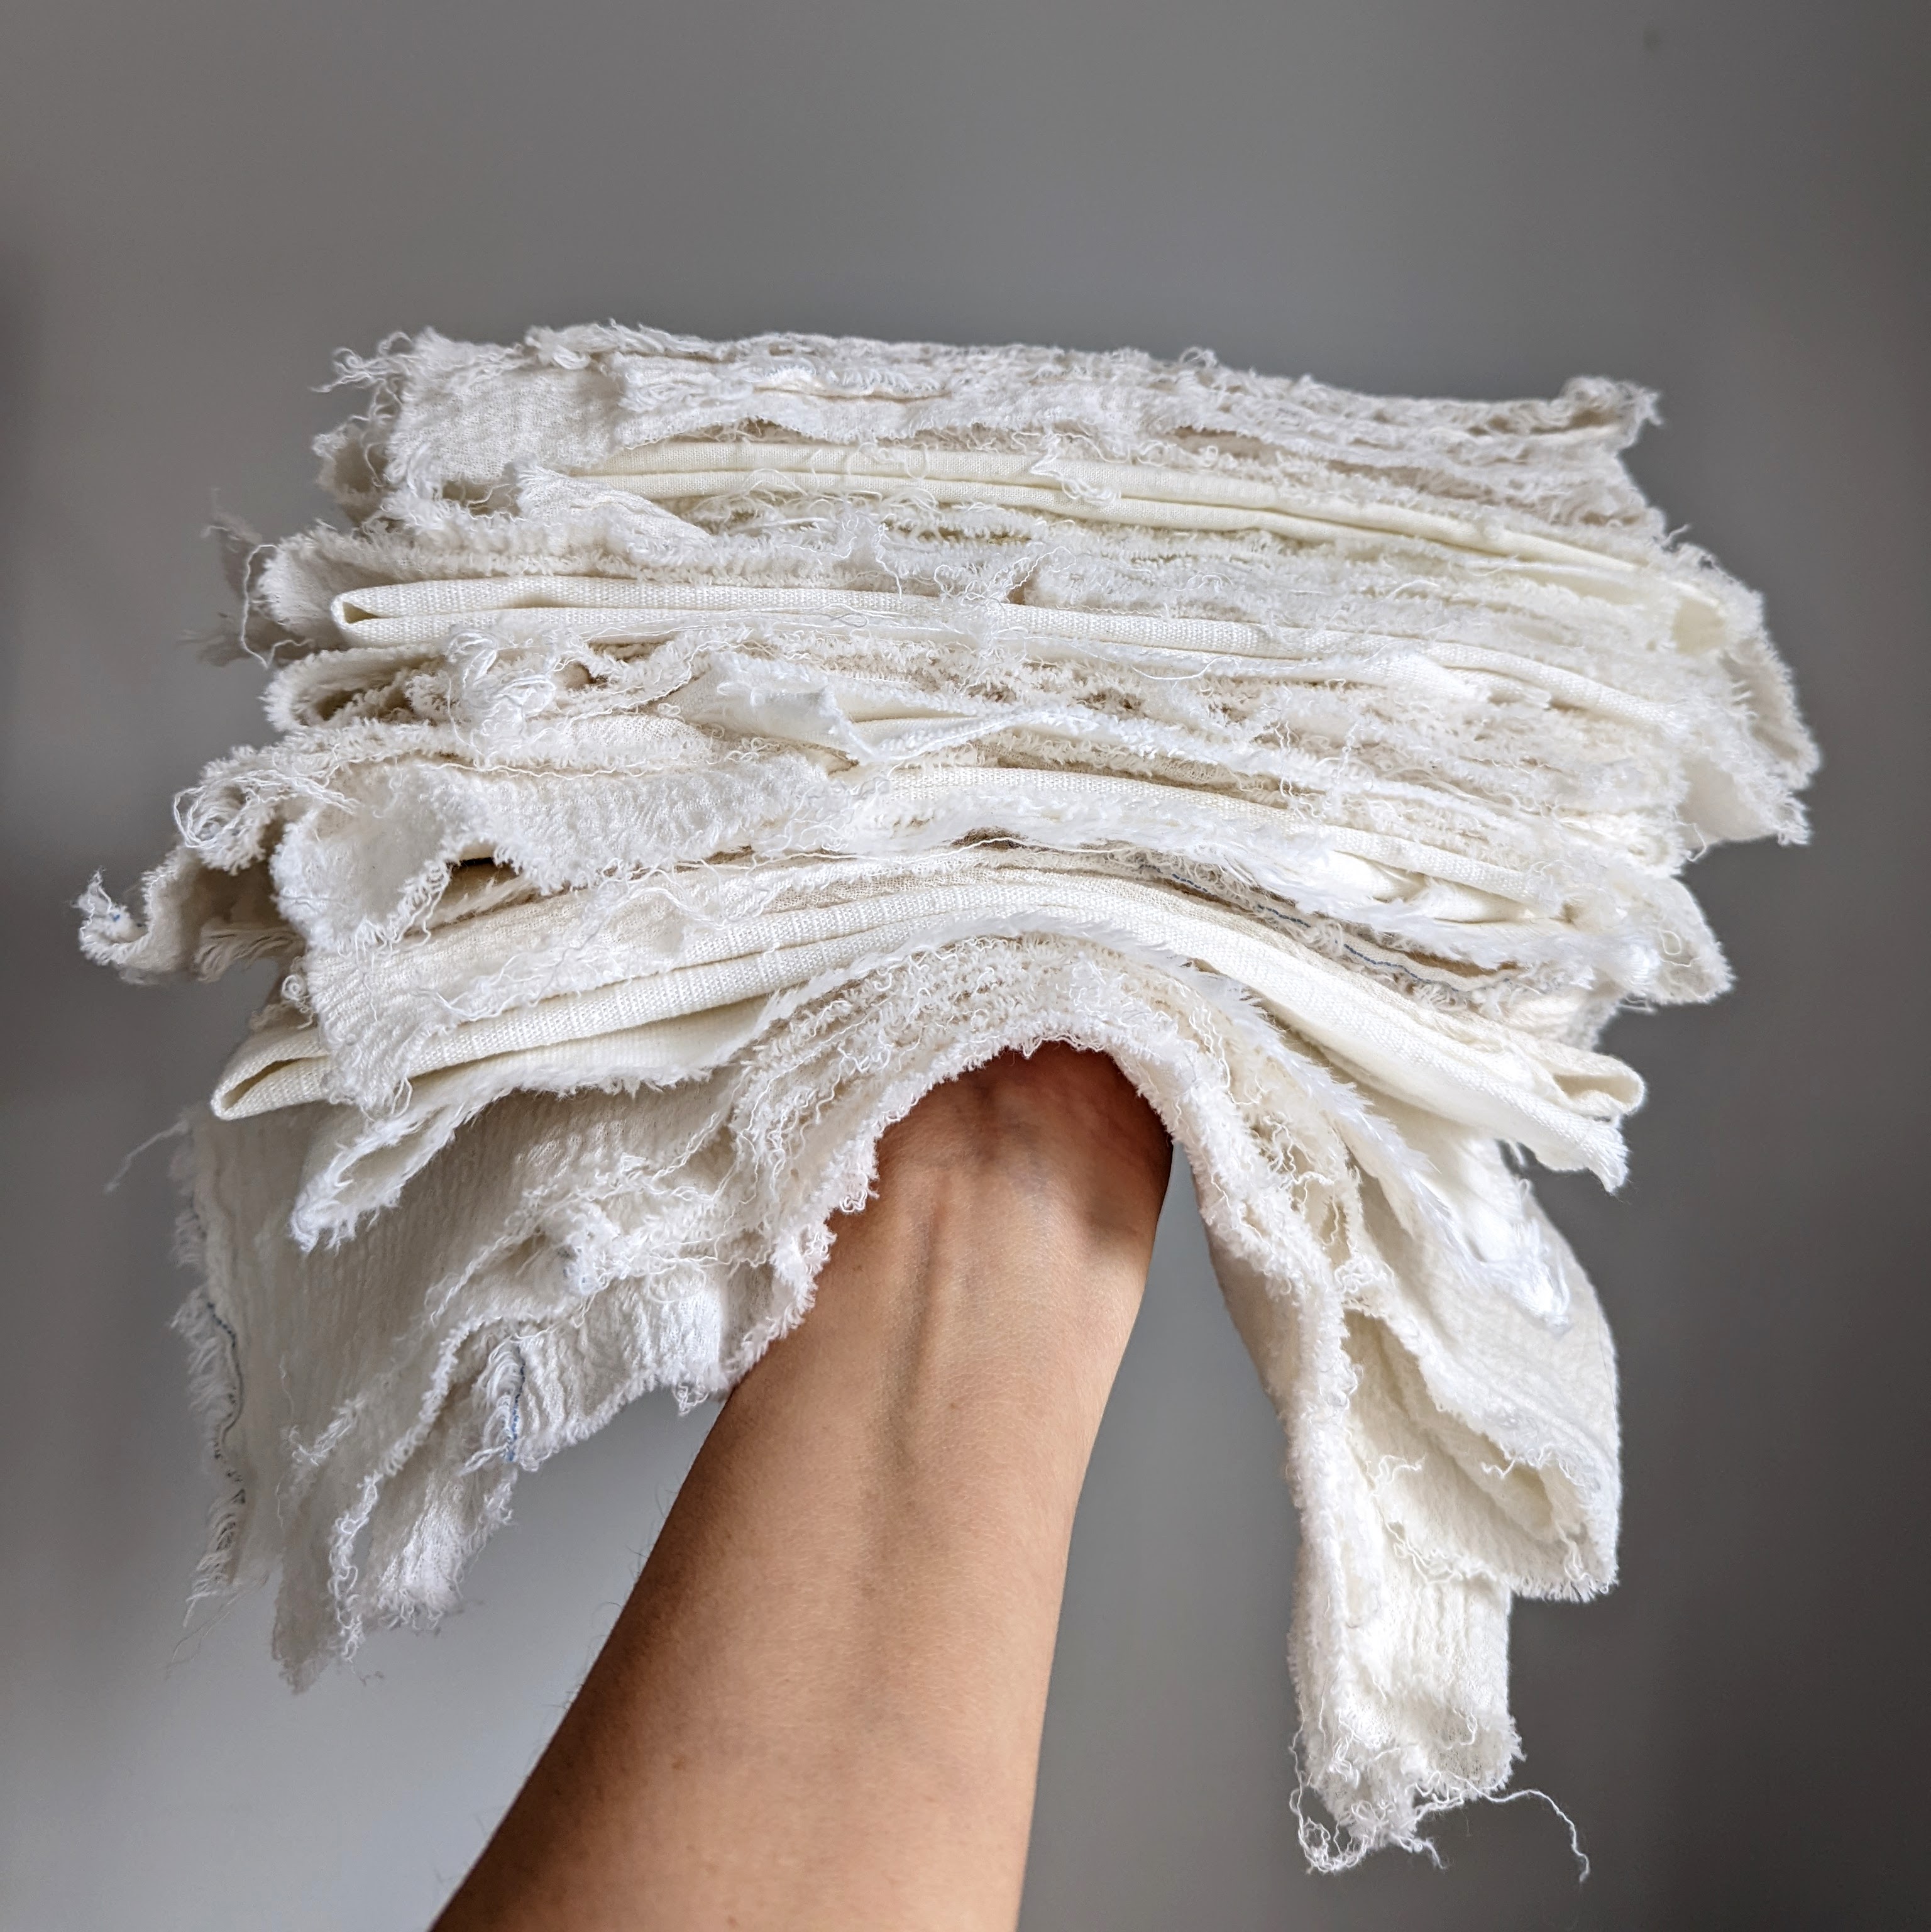
Photo: A stack of hand-painted signatures waiting to be bound into stitch journals.
Back in July of 2022 during a studio clean, I found a couple of small fabric books stuck in a drawer. I had made them the previous summer, and for whatever reason they hadn't lived up to my expectations, thus in the drawer they went, the place where things I don't know what to do with wind up. I'm not certain but I think I originally intending them to be needle books. I must have had some other visual imagery in my mind of what they should look like, because obviously they had disappointed me.

Photo: This is the style of book that I had originally made and found stashed away in a drawer.
Made from old feed and grain sacks, I call them my "Rustic" style stitch journals.
But finding them again after a year had passed, I was now able to see them with fresh eyes, and this time only saw something potentially wonderful... two small books that I could turn into stitch journals.


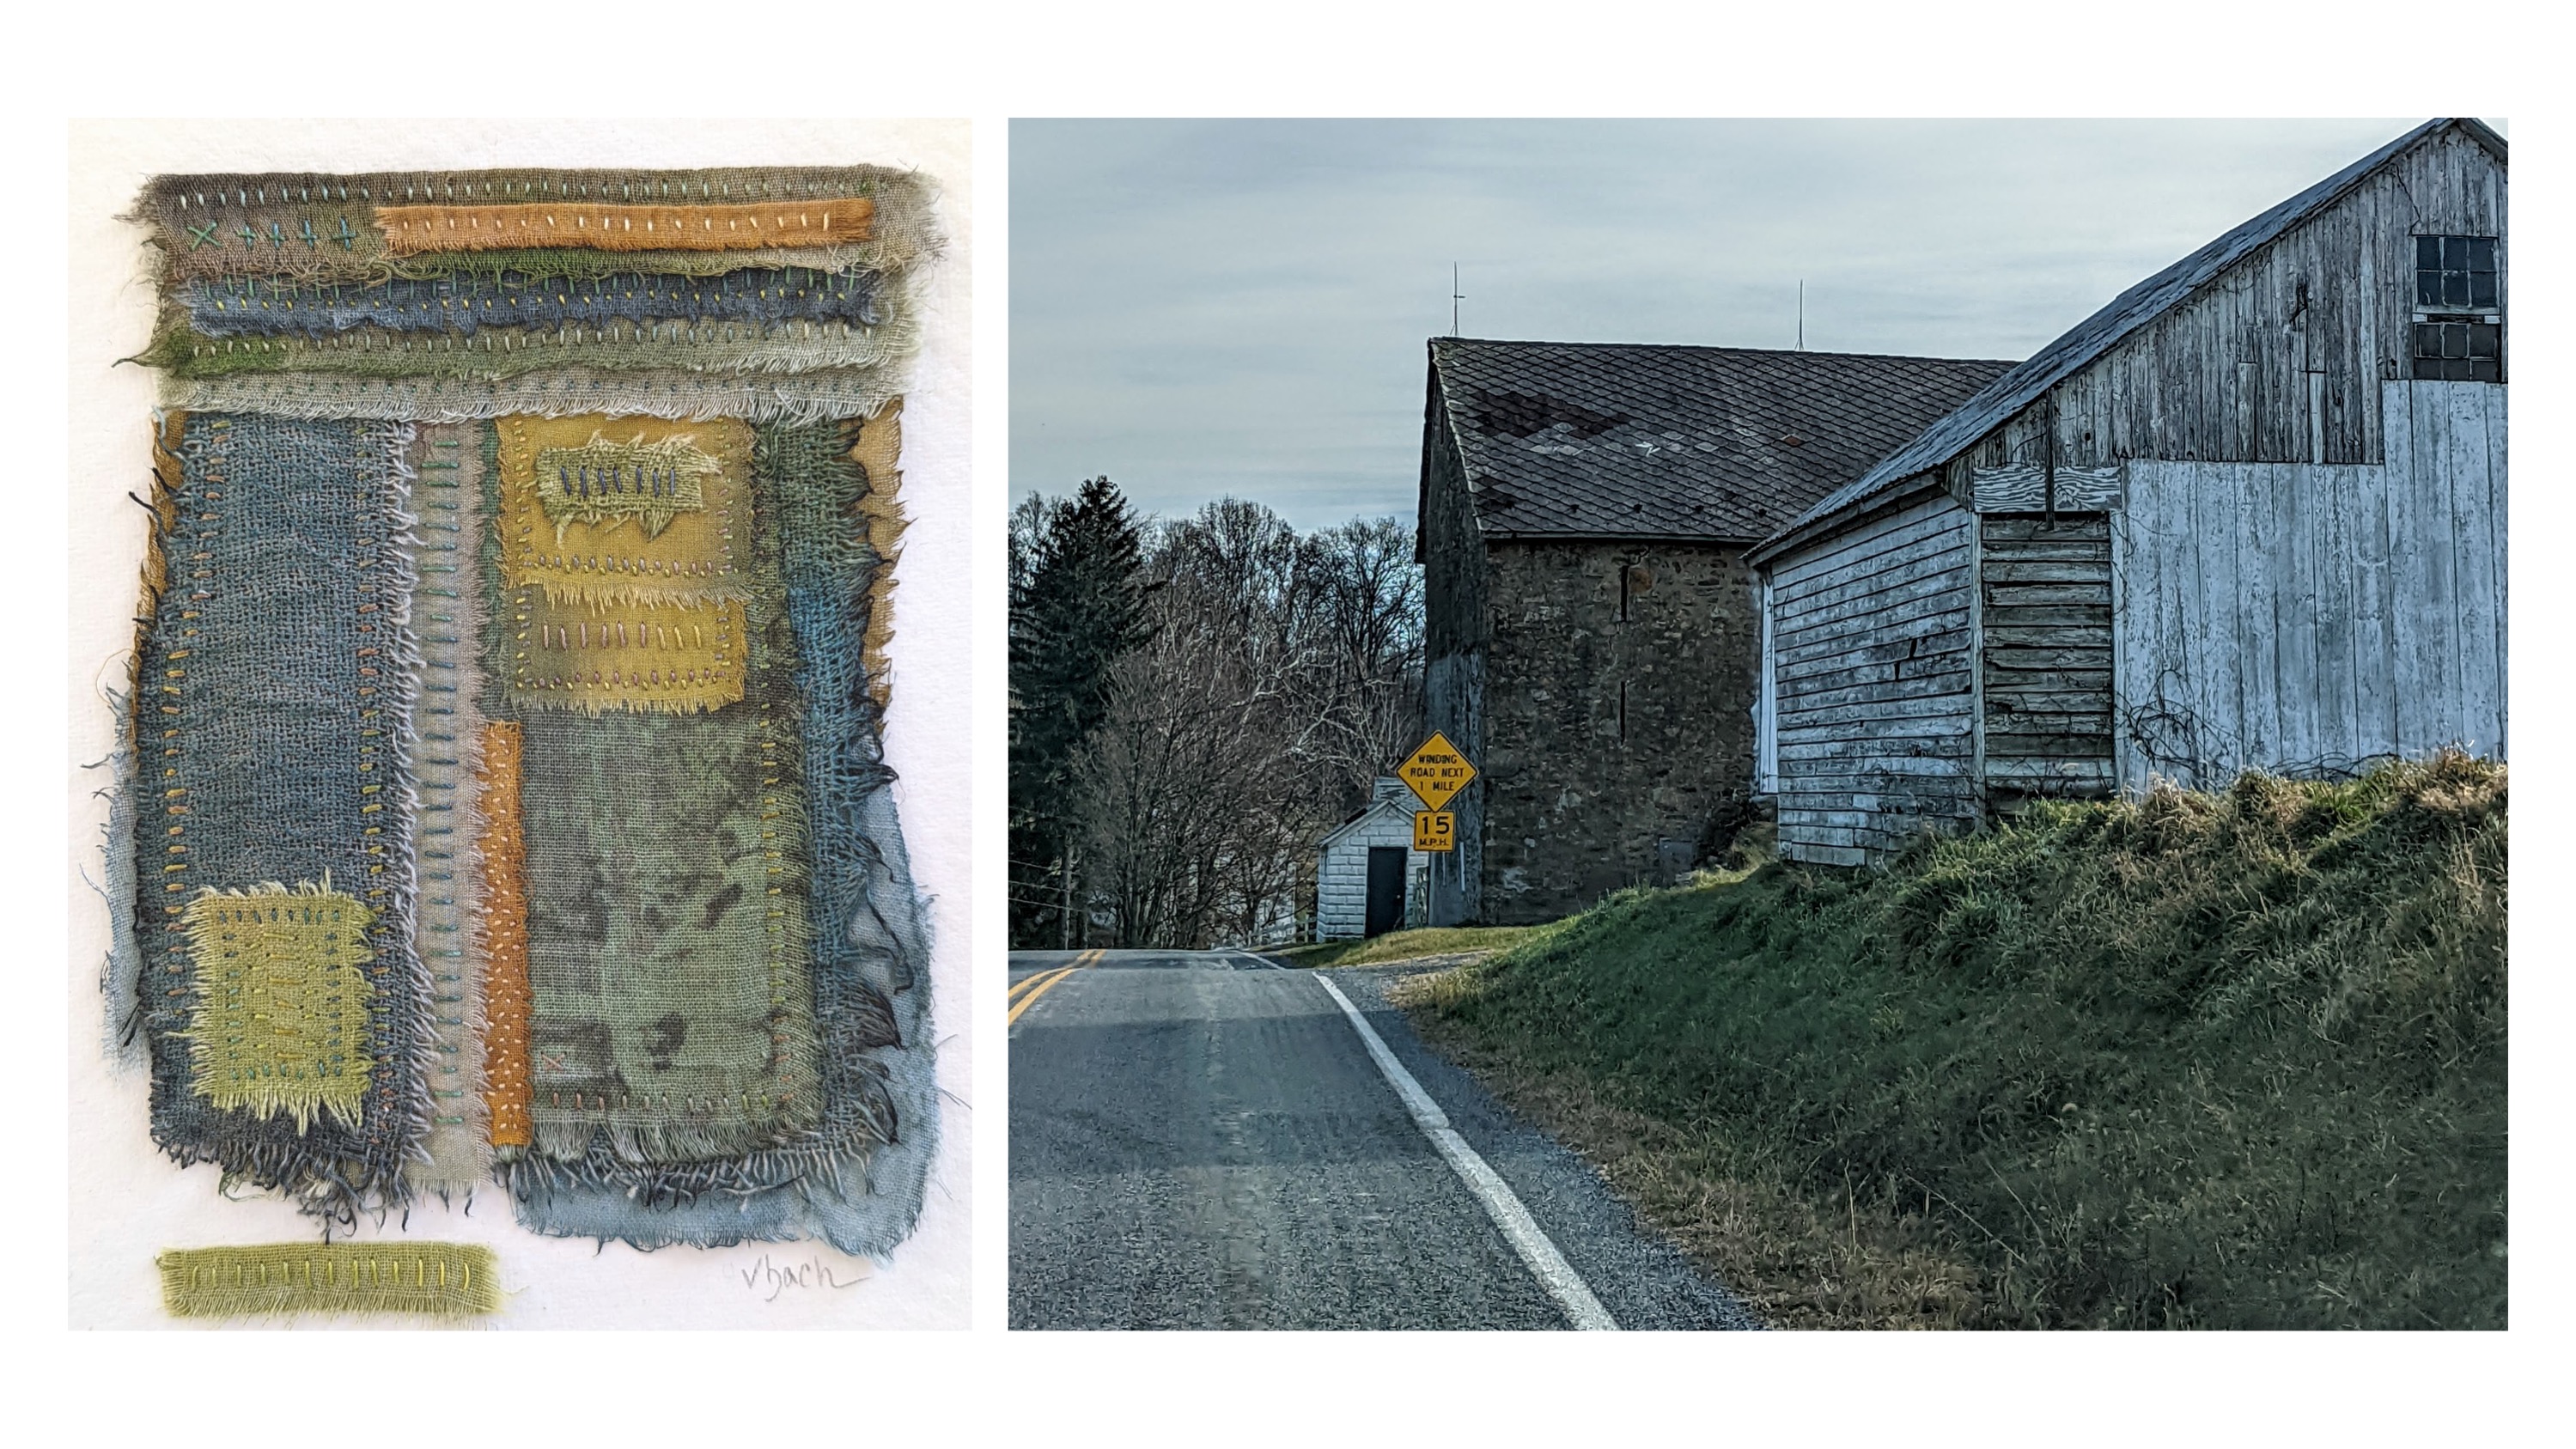
Photos: An "invented language" stitch journal called "Book of Symbols". It's filled with abstract symbols, representing things that I see as I travel my local rural roads, such as fences, farms, barns, windmills, crops, etc.
Ever since then I have been on a journey of making stitch journals and filling them up. Along the way I have been sharing photos of them over on Instagram and have had lots of questions asking if I would do some sort of tutorial on how I make them... So, I set out to do just that.

Photo: A themed book with barns as the subject.

Photo: Page spread from a momigami paper stitch journal,
made from old National Geographic magazine pages.
And after now working the better part of a year, I am truly delighted to have it available for anyone interested in taking the plunge along with me.

Photo: Page spreads from two painted stitch journal.
The course is available in my Etsy Shop and can be found here. The course is presented in a PDF format, (no videos) and is broken up into 5 parts. Written in a conversational tone, and full of color photographs to help guide and inspire.

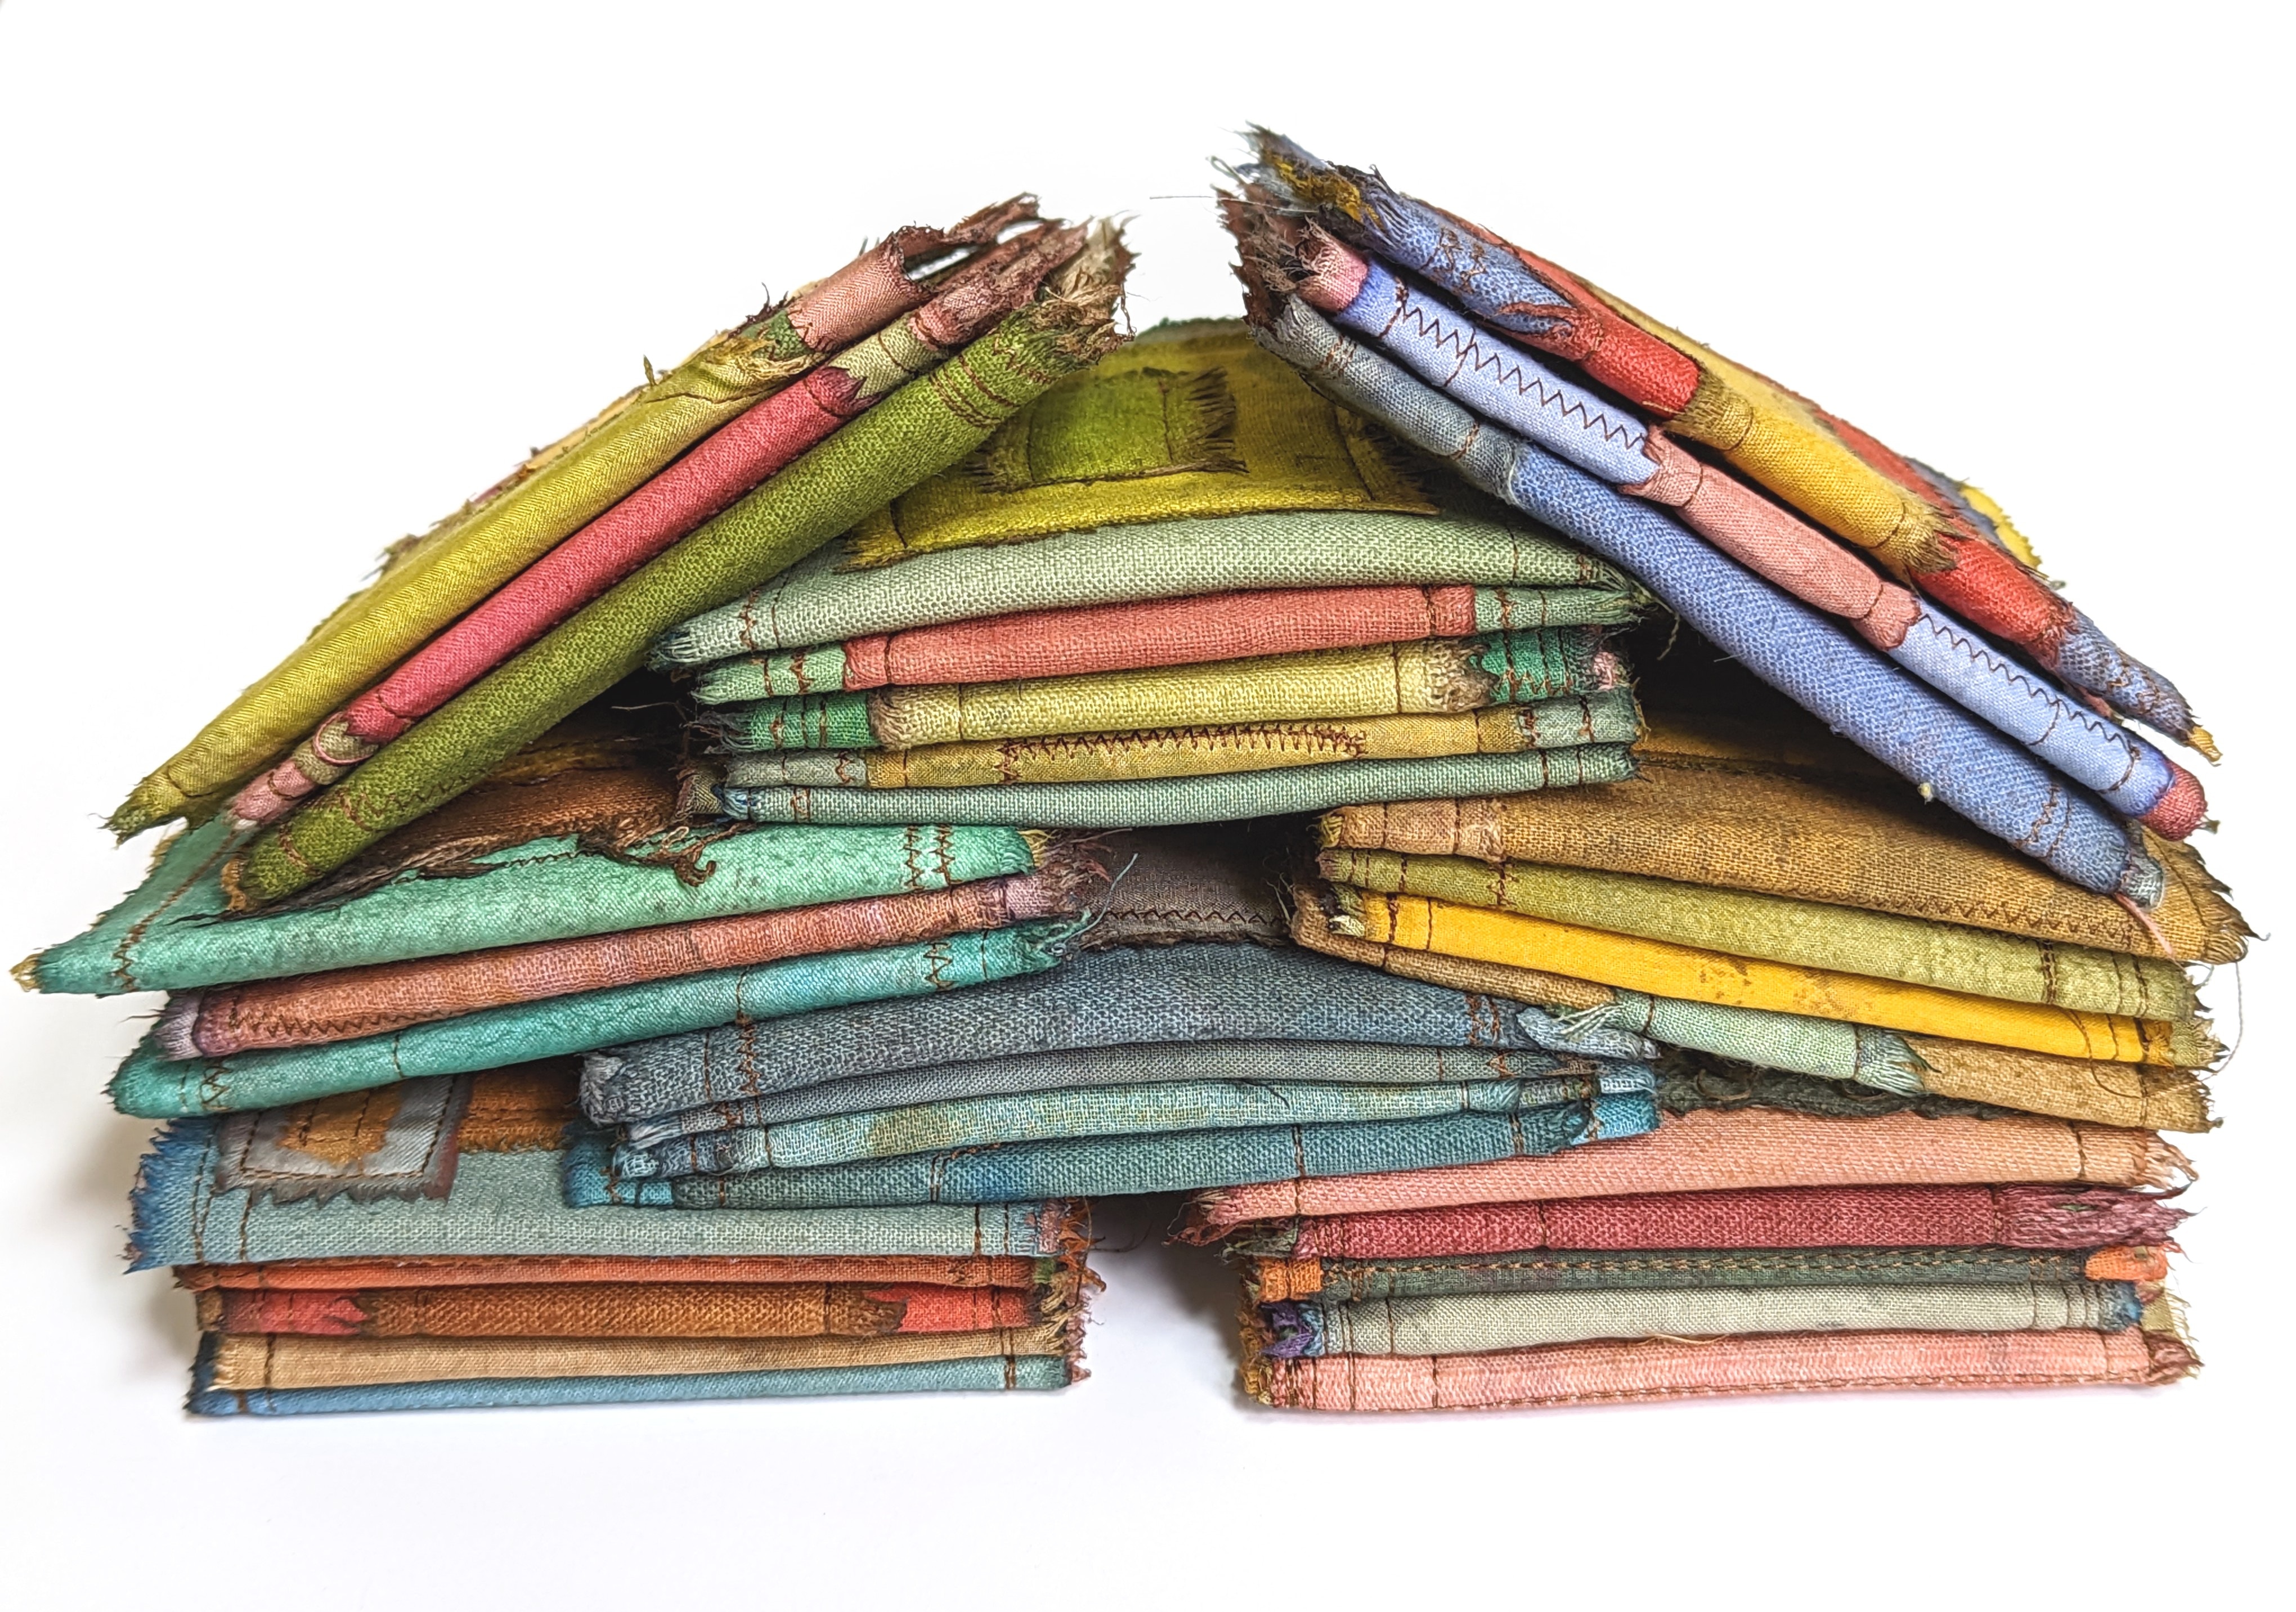
Photo: More hand-painted signatures, stacked and waiting to be bound into stitch journals.
This course is meant to be worked independently and at one's own pace, but I am available to answer questions if need be.

Photo: A cascade of stitch journals in various stages of use.
As an artist I have always wanted to fill up volumes of art journals, and in the past I've tried to keep a practice of doing just that, with sketching, painting, collaging, but none of it has ever stuck, and I always found myself feeling like I lacked discipline. Finally though, the lightbulb went on above my head... I am primarily a textile artist, so why not make textile journals and fill them up with stitch?! This obvious thought had alluded me my whole adult life, but once that light of wisdom shined on me, oh, what a joy to now have volumes of my very own stitch journals... Safe places where I can play with needle and thread, explore texture and color, save bits of vintage materials and buttons, or transform them with rust and dirt... It's been eye-opening and soul satisfying, and I hope should you join me, that you will also find the same to be true.
Happy stitching and may you always be curious. Xo